


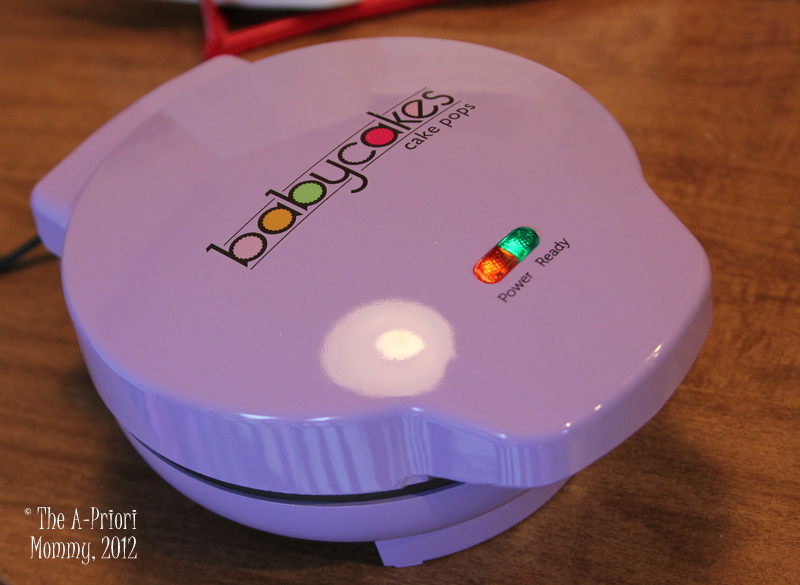
 I recently purchased the Babycakes Cake Pop Maker and the Babycakes Cake Pop Cookbook. I had previously seen the machine for sale and thought that would be neat, but I quickly dismissed it because I figured it wasn't worth $25 to just make cake pops every now and again. Then I stumbled upon the cookbook and the fact that I can cook appetizers and other things specifically recipe-calibrated for this machine. Hooray, I bought away!
 Did I buy for a specific event in mind? No. Have I ever eaten a cake pop before in my life? No. Do I think I'll get $25 worth of use of it? Yes, and then some! Are they delicious? Yum!
For my first attempt making any cake pops this machine made it super easy! I decided that I'd make some for our community group when it came our turn to bring dessert. I used their lemon cake recipe. Considering I didn't have an actual lemon as called by the recipe and only the lemon extract part, they were still quite yummy. Can't wait to try it with a real lemon! :)

The recipe is super easy, relatively small, and easy to mix together. After everything was combined, I tossed everything into a ziplock back and cut the end and created a easy device to feed the maker (and throw away when I'm done!) Finding the right level of batter to create the perfect sphere took a bit trial and error but overall it was very easy.

I have to say that the cookbook does a great job walking you through the ins and outs of the cake pop maker. Tips on just about anything you'd come across, and I greatly appreciated that. The cake pops cook quickly only about 4 minutes and they were nice and fluffy. They pop out of the maker pretty easily too! Now after doing a lot of reading about 'cake pops' I have been enlightened that the Babycakes Maker does not make 'traditional' cake pops - which apparently involve regular cake crumbled and a frosting mixtured rolled into a ball. Forgive me if I say THANK GOODNESS for that! That sounds disgusting to me. I like the nice solid cake center. :)
The book walks you through how best to affix the sticks to your cake pops. Oddly enough you don't just jam the stick in the cake pops. After I completed cooking them all (so about 4 rounds of using the maker) - I tossed them in a bowl and put them in the freezer for 15 minutes. After that I melted a little candy, dipped the stick in it and then speared my cake balls and then I tossed all of those back in the freezer for 15 more minutes. Then it was time for the fun stuff!

The cookbook offers several recipes for toppings to use on your cake pops, but for this time I chose to use the Wilton Candy Melts. The cookbook also walks through good techniques for using the candy melts to get a less drippy effect, etc.. This part is actually a lot of fun :) I'm not sure why I found it so exciting, but it was.
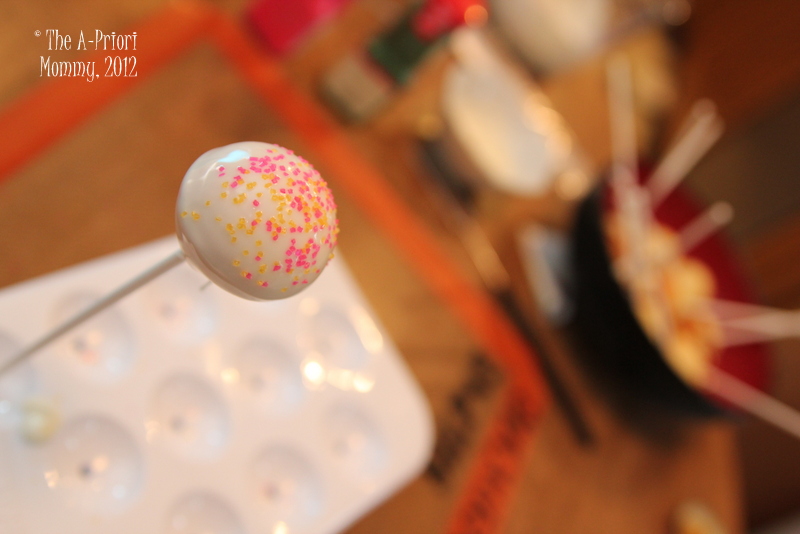
Next up to add some fun color I broke out the sprinkles and got to shaking. For things like sprinkles you want to do it while the candy is still wet. For other decoration you want to wait for it to dry, just depends on the technique. I love that the making of cake pops can be so multifaceted.

After making a good portion of the pops white with sprinkles, I thought that I would add in some hot pink dye to the melted candy to make some pink pops. Apparently that was a grave error! As soon as the two drops of dye hit the melted candy it turned into this grainy sandy mixture. Eventually by adding a LOT more candies to the mix and melting those in it finally yielded back into a liquid form. I guess that's one way to ensure that you buy the specific bag of colored candy melts! So baker beware - candy melts don't like traditional food dye. They require an oil based dye and Wilton makes some specifically for their candy melts (of course they do!.)

Ace was my taste tester... he loved them... as said with a mouth full of cake. :) Next up was cutting a piece of Styrofoam and then the rest was simple arrangement. I left several off the sticks and some even completely uncandied for variety sake. I put those in mini muffin cups and in the end they were all devoured. Yum!


This was a very fun project and the maker cleaned up with an easy wipe down and thus clean up was a breeze. :) Can't wait for more occasions to try out different recipes and decorating techniques! Babycakes has not sponsored this blog, but I'd happily do business with them if they did want to. Their cookbook is full of recipes and what I find even more invaluable than that is all of the great tips on perfecting your baking and decorating experience. Stay tuned on a post about making meatballs in the maker!
No comments:
Post a Comment